I will admit that I’m not crafty but I try. This year we have a lot of people on our list that we need to buy something small for. My son has 2 EA’s and also a lot of people in the school that are important to his success. So, while looking for something nice to give that wouldn’t break the bank I found this craft.
Originally posted in the December edition of Martha Stewart Living for the iPad, these beautiful ornaments are not only easy to make but they look really unique when you are done. And because you don’t have to ‘paint’ anything, it is the perfect craft for kids.
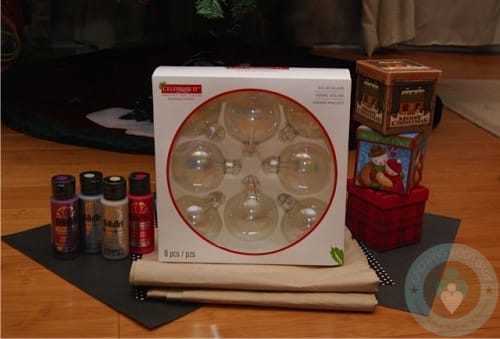
To get started you only need a few supplies; Clear Christmas Bulbs(any shape or size), Acrylic paint (both metallic & regular), gift boxes, some boxed stuffing, and paper towels.
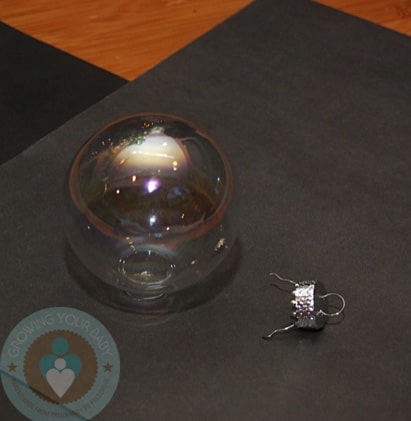
Remove the metal lid from the glass ball
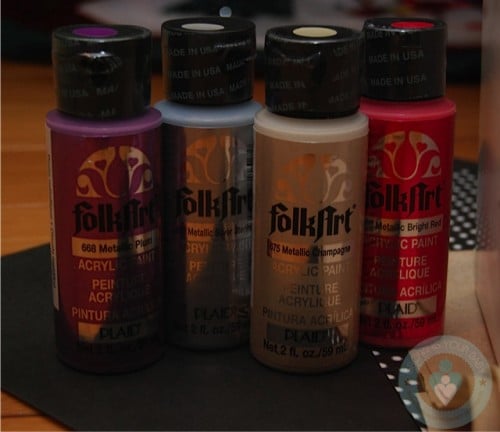
Choose 2 colors that you would like to use. I recommend using one regular color and a metallic one. This combination worked well for me because they really complement each other and the metallic adds a subtle shimmer that gives the ornaments a pretty look. We used a champagne metallic with blue, green, red, and purple. I also used a metallic blue with a regular white and it turned out really nice as well. I tried silver but it dried almost transparent and mixed too easily with the colors so there wasn’t any contrast.
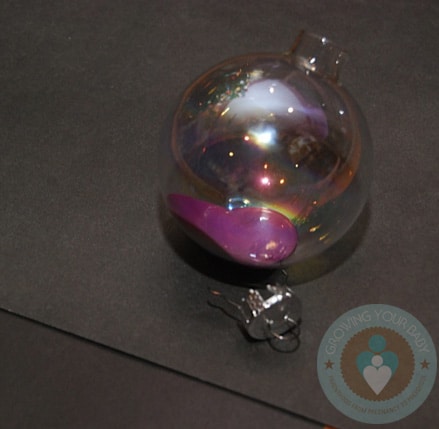
Pour a bit of the color into the bulb.
Roll it around a bit and then add the white and roll them around together. The goal is to have the paint coat the whole inside of the bulb. You may need to add more of each of the colors to even the lookout if you notice that one is dominating the surface. Not a lot of paint is needed to coat the surface so try not to fill the bulb with paint as it will all just go to waste. It will also take a lot longer for the inside to set.
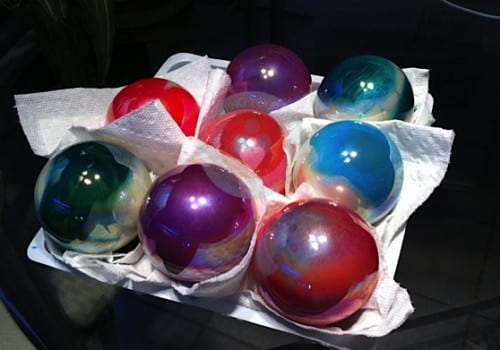
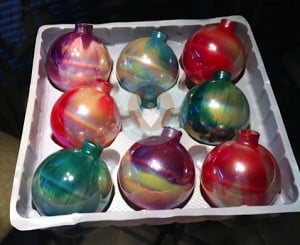
Once the whole inside is coated turn the bulb upside down and allow the extra paint to run out. For this, I used an old plastic bulb box that we were no longer using. I also lined each spot with a paper towel to reduce cleanup and prevent the bulbs from breaking.
Let paint drain for a couple hours and then turn the ornaments up to dry.
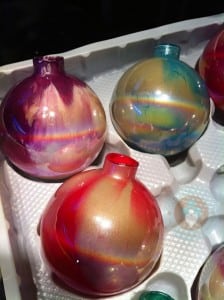
When the paint runs out it creates really pretty lines inside the bulbs that gives the 2 colors some contrast. Regardless of how you put the paint inside each ornament ends up with it’s own unique look.
I loved that whether my 2-year-old turned the paint inside or I did, they all looked beautiful and ready to grace a tree or stand.
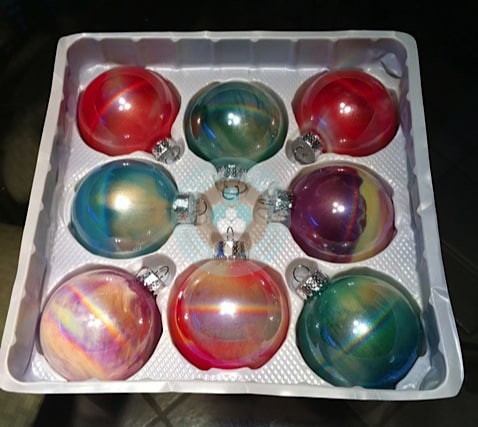
In their boxes and ready to be gifted to friends and family! Aren’t they pretty?
Best of all, it was around $20 for everything! The ornaments were on sale for $6 for 8, each gift box was $1 and the paints were $3.50 for the metallic and $1.69 for the regular colors.
This is also a really quick craft. You could do 8 ornaments in 10 minutes. Let them dry and then package them in the morning ready to be gifted!
Worth noting: The ornaments on the tree at the top were done with small completely clear bulbs, while the ones in the pictures above were done with fancier clear bulbs that have a reflection in them. I personally prefer the completely clear bulbs to the fancy ones because they show the color details better.
Related Articles:
- Holiday Gift Guide ~ 13 Ideas For Kids 3+
- Holiday Gift Guide ~ 15 Ideas For Kids 2+
- Holiday Gift Guide ~ 14 Ideas For Kids 1+






hii I made similar ornaments this passed Christmas but didn’t use any metallic paints just regular. they all came out beautiful at first. then a few as they began setting started coming off of the actual bulb so there were spots showing through. anyway you found out a way to prevent this?
i’m attempting this now. the paint doesn’t roll around as quickly and easily as i expected. i am using folkart metallic and regular paint as well.
For some I had to start with a bit and then add more The metallic paint was ‘runier’ for me. But the combination of both makes the ornaments pretty.
These bulbs are so beautiful.